For homeowners
Most kitchen disposer calls are a prompt fix. We pull the old unit, check the drain, and install a new one sized to how your household cooks.
- Old unit hums or will not spin
- Leak under the sink
- Slow kitchen drain
Garbage disposal installation is the professional fitting of a new disposal under a kitchen sink in a Mount Pleasant, TX home. A new disposal should grind cleanly, drain freely, and never leak at the flange. NTP Plumbing installs garbage disposals across Mount Pleasant, TX — flange sealed, drain connected, tested with a full sink before we leave. Open 24 hours, Monday through Sunday.
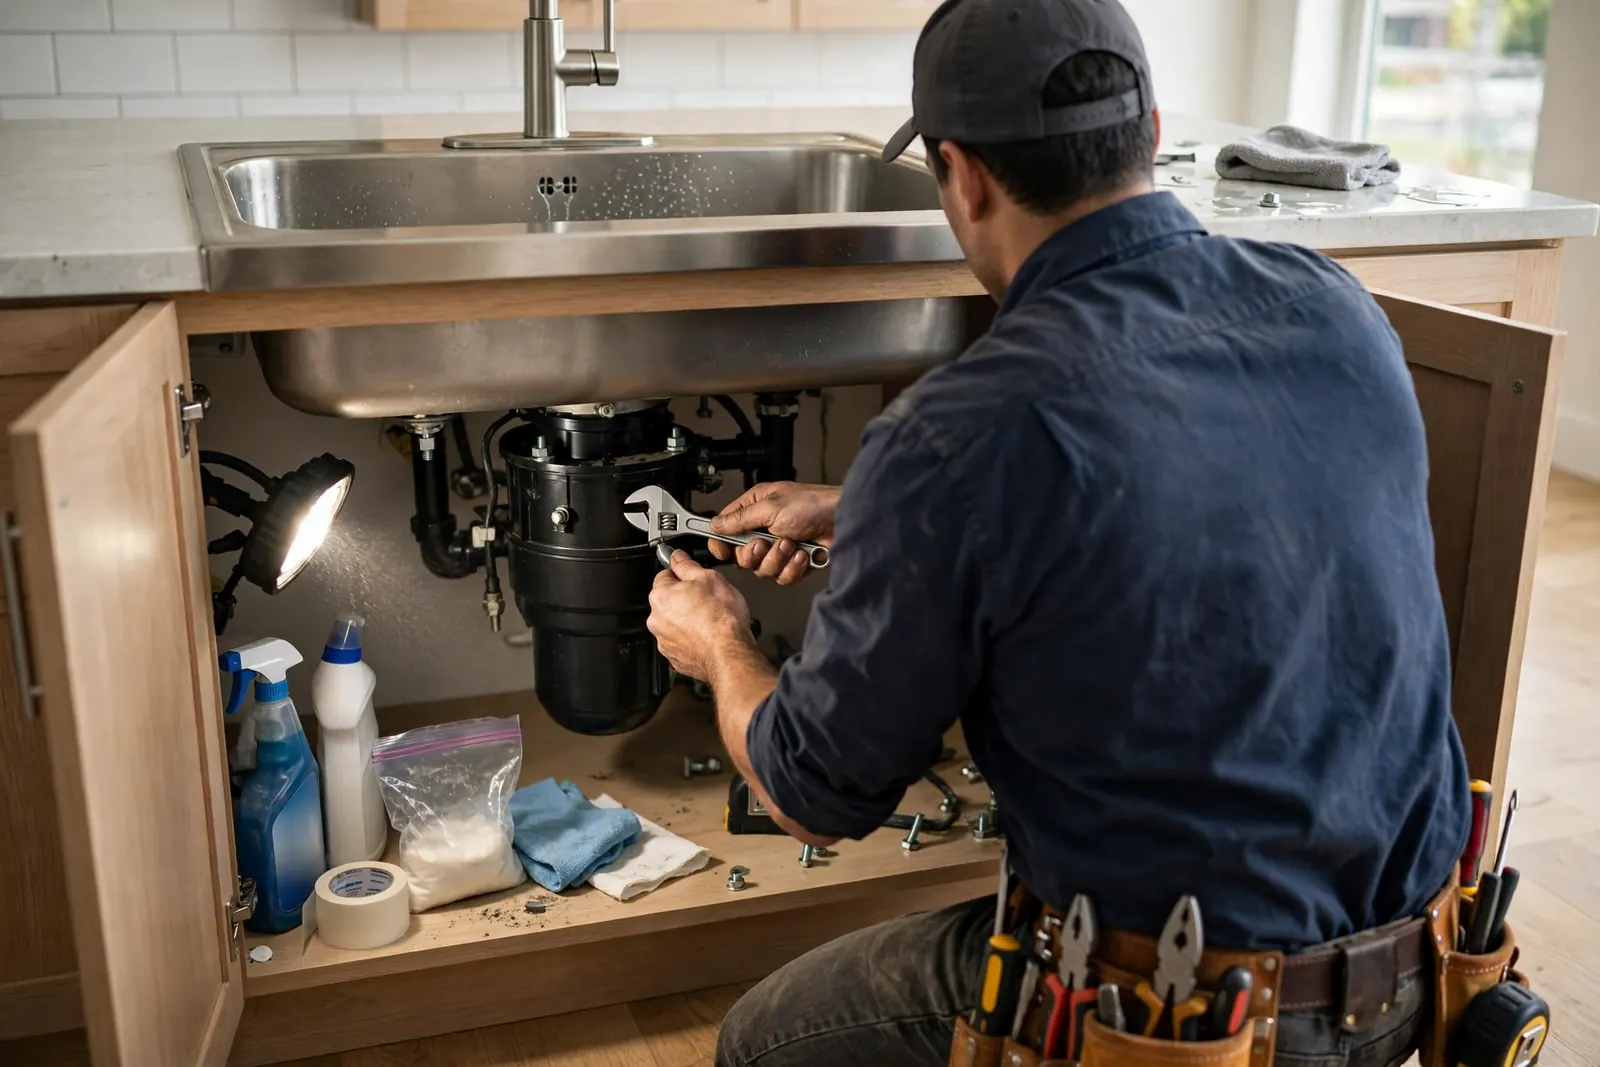 New disposalFlange sealedTested full
Every install includes the labor to pull the old unit, set the new one, and test it. Here is what is in the standard scope and what we check while the cabinet is open.
We disconnect the old disposer, drain the trap, and haul the unit off. If the old mounting ring is seized, we cut it free without damaging the sink flange.
We set a fresh sink flange with plumber's putty or a silicone gasket, tighten the mounting ring evenly, and confirm the seal holds under running water before we call it done.
We inspect the P-trap and discharge tube for hard water buildup or a partial clog. If the branch line is slow, we clear it with a drain snake before the new unit goes on.
We connect the disposer to the existing circuit and test the switch and power at the unit. If the switch is worn or the connection is loose, we tell you before we finish.
We run water through the unit, check every connection for drips, wipe down the cabinet floor, and walk you through what we found and what not to put down the drain.
A new disposal has to fit the sink, the drain and the switch — the checks at the end are the same in a home and a rental. What changes is the access, the schedule, and who needs the paperwork for a garbage disposal installation job.
Most kitchen disposer calls are a prompt fix. We pull the old unit, check the drain, and install a new one sized to how your household cooks.
Rental turnovers need a disposer that works on day one. We install, test, and document the work for the property file.
A plain-language look at what Garbage Disposal Installation involves and when it is needed. The City of Mount Pleasant charges a $75 residential plumbing permit fee where a permit is required (inside city limits) — that is a City fee, not our price.
See how it worksInstalling a disposal means mounting the unit to the sink flange with a fresh seal, connecting the drain and the dishwasher drain, wiring it to the switched outlet, and testing it with a full sink of water. Then it is run while we watch the flange, the drain connection and the trap for a weep.
Most installs in Mount Pleasant, TX are replacements in older kitchens — Downtown homes and Southgate ranches where the old unit has burned out — and finish work in Northwood, Stone Briar and Deer Park Estates new builds. If your home is on a septic system, common on lake and rural lots, ask us whether a disposal suits it before we fit one, and verify sewer or septic at the address.
A disposal install is a seal job with a motor on it. Get the seal right and it stays dry.
Here is the sequence we follow from the driveway to the final test.
You call (903) 350-9085 or book online. We ask the make and model of the old unit, whether the sink is cast iron or stainless, and whether the drain has been slow. That lets us bring the right mounting hardware and a spare P-trap on the first trip.
We shut off the water under the sink, disconnect the supply lines, and pull the old disposer. Then we look at the drain arm and P-trap for hard water buildup or a partial clog. If the branch line is restricted, we clear it before the new unit goes on.
We set the new sink flange with plumber's putty or a silicone gasket, tighten the mounting ring, and hang the disposer body. The discharge tube gets a fresh seal, and the dishwasher knockout is punched only if you have a dishwasher. We check the trap arm alignment while the unit hangs.
We connect the disposer to the existing circuit, check the switch, and test for leaks with the water running. We run ice and a lemon peel through the unit to confirm it spins free and drains clean. If anything is off, we fix it before we leave.
We wipe down the cabinet floor, haul off the old unit, and walk you through what we found. You get the model number and a note on what not to put down the drain.
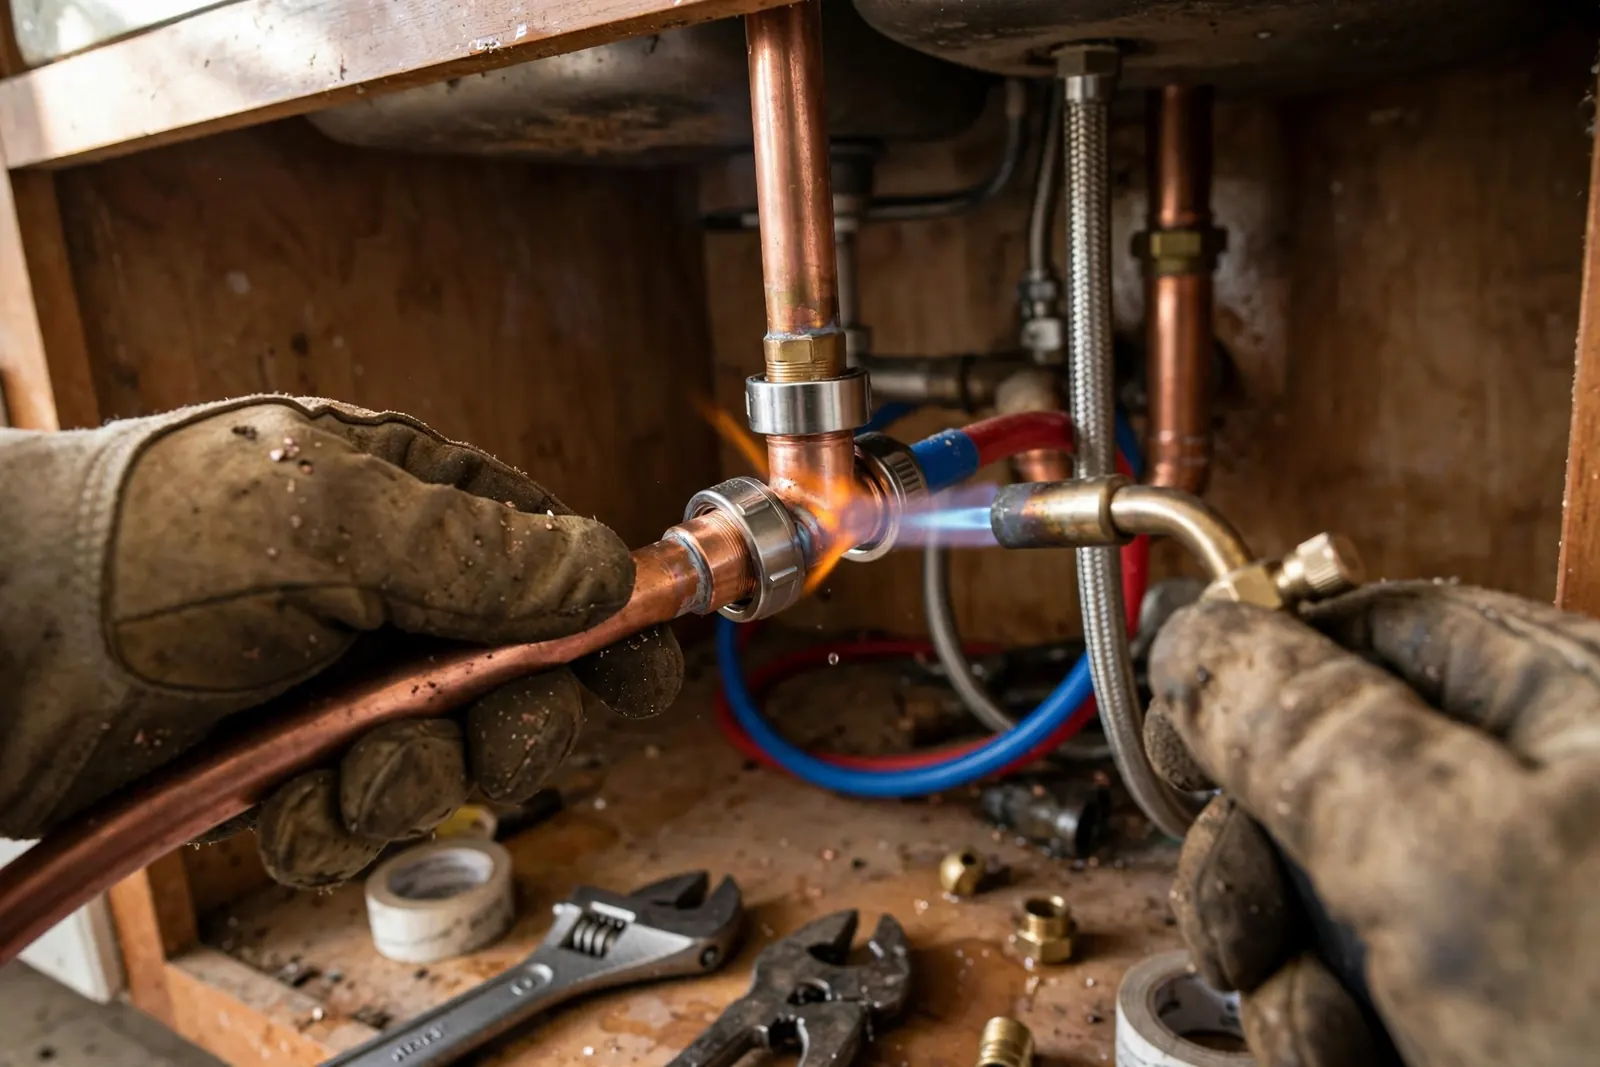
Move across a circle, or focus it and press Enter, for an illustrative thermal view of this garbage disposal installation photograph.
Used to break loose the mounting ring and the drain fittings without cracking the sink flange.
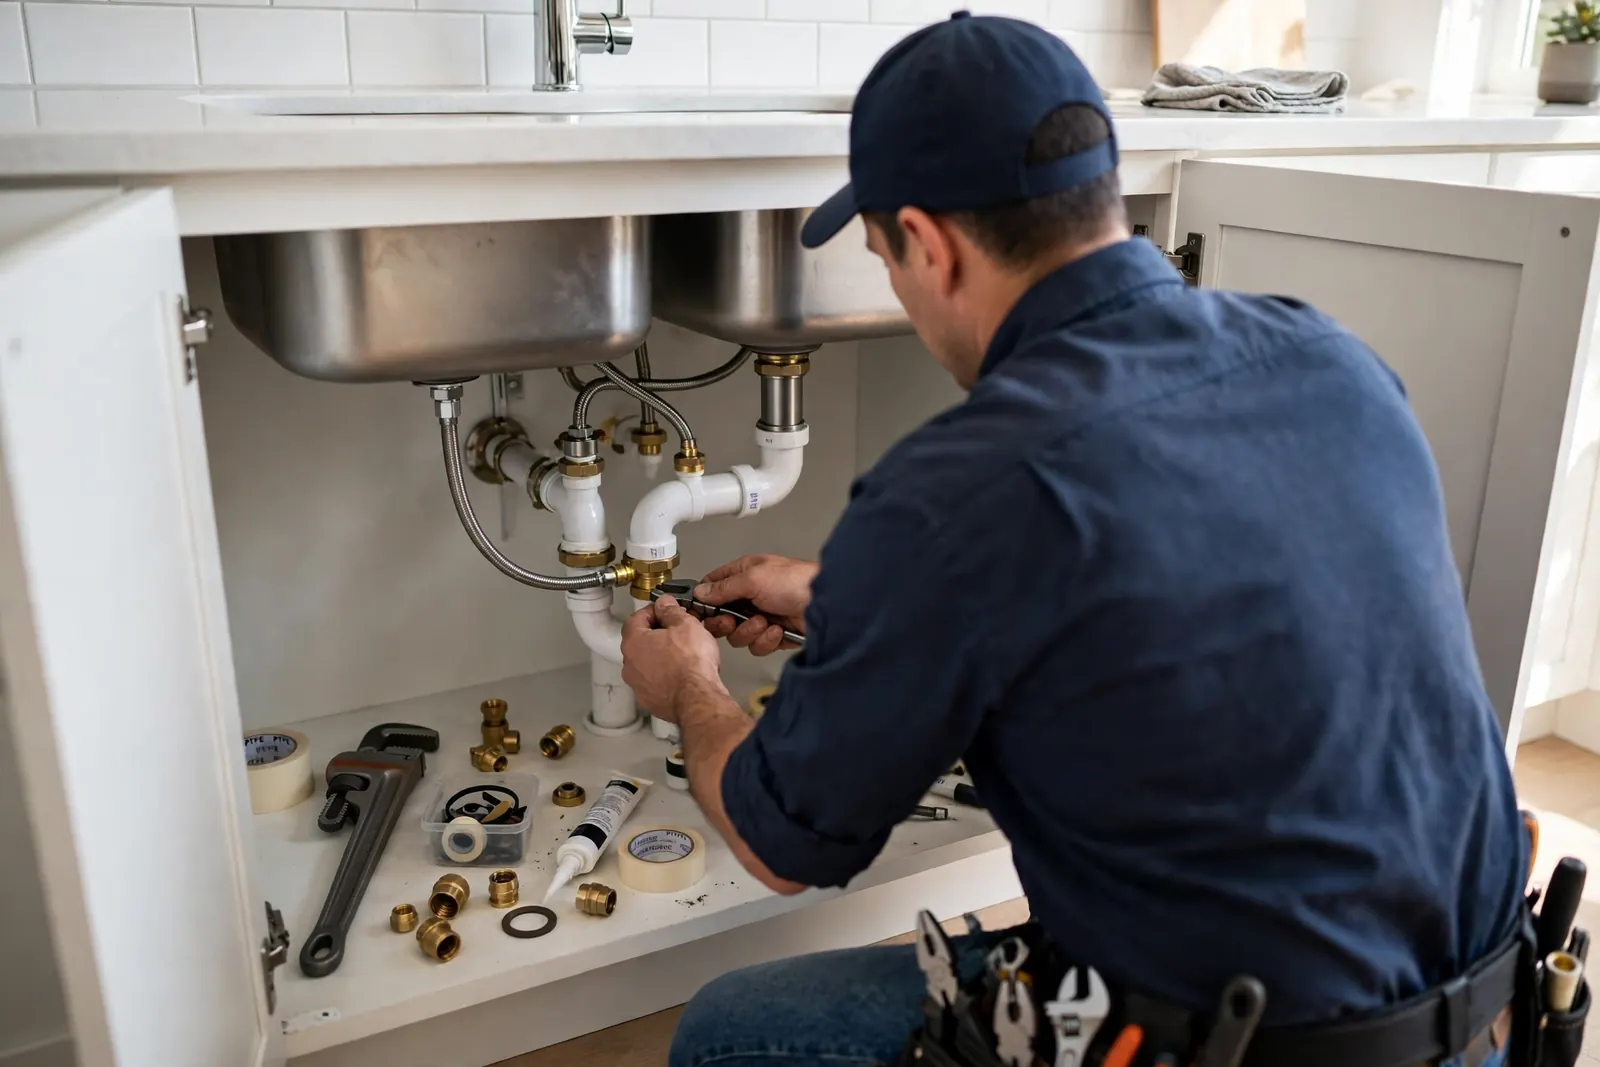
Clears the branch line and P-trap when the old disposer was backing up, so the new unit starts on a clean drain.
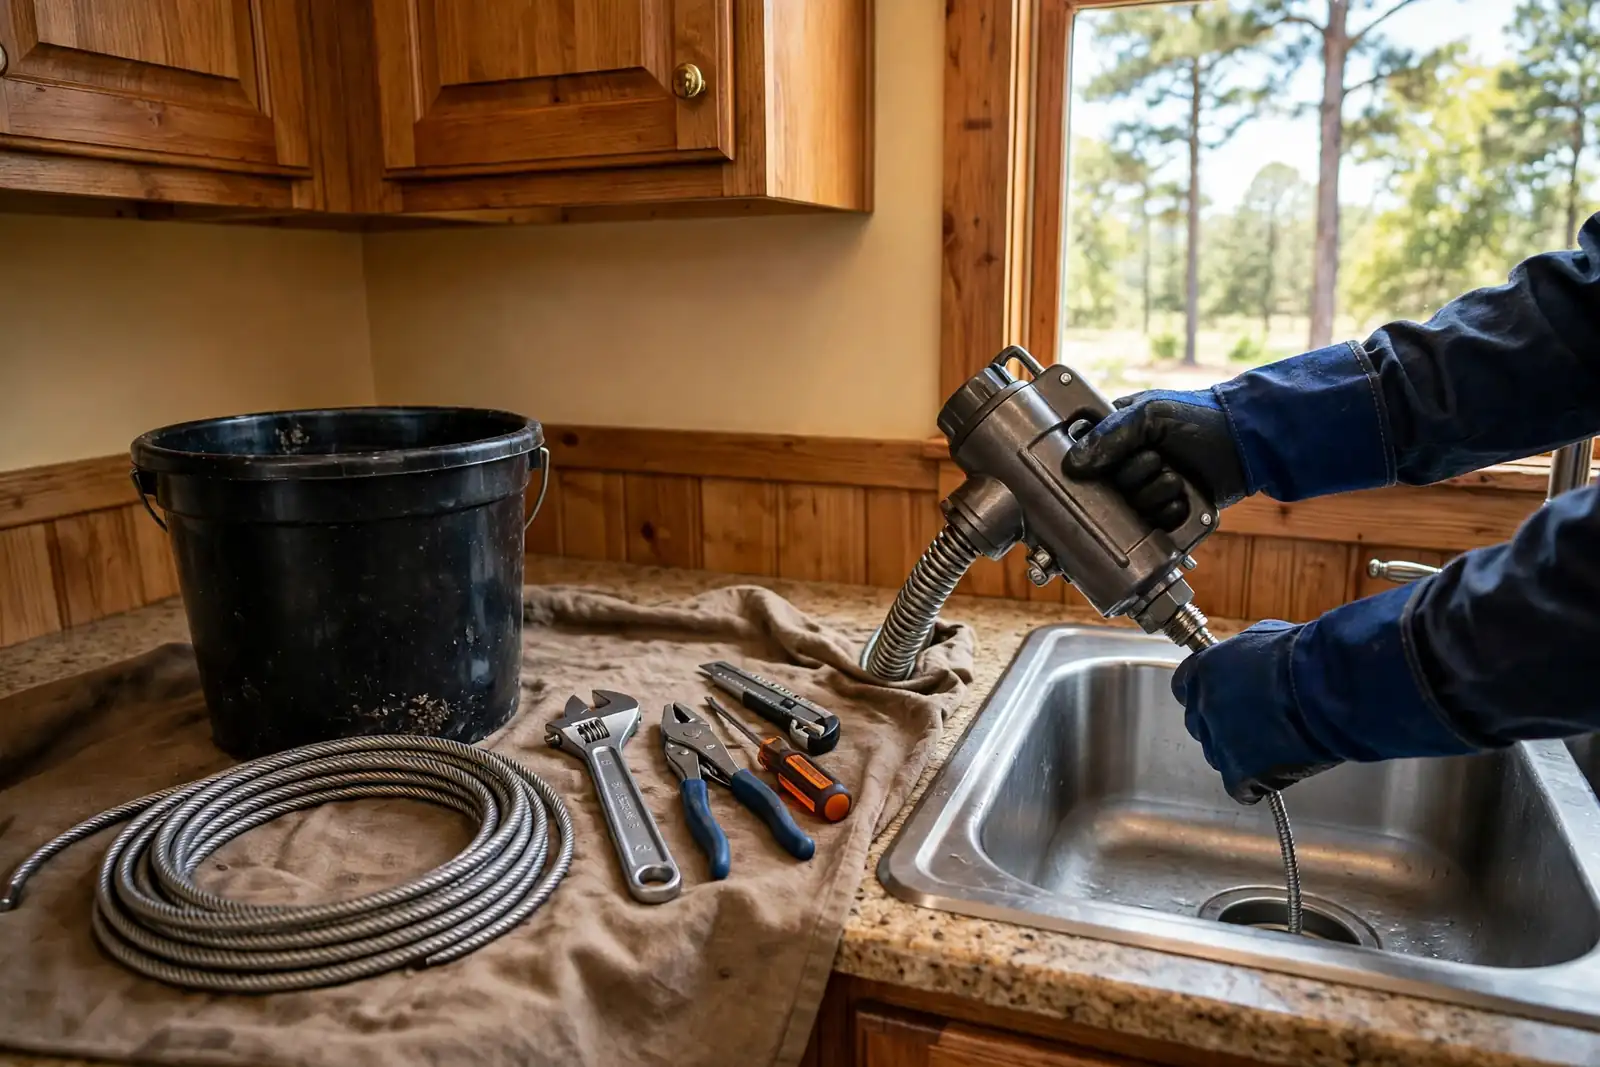
Blasts grease and hard water buildup out of the drain arm when a snake is not enough.
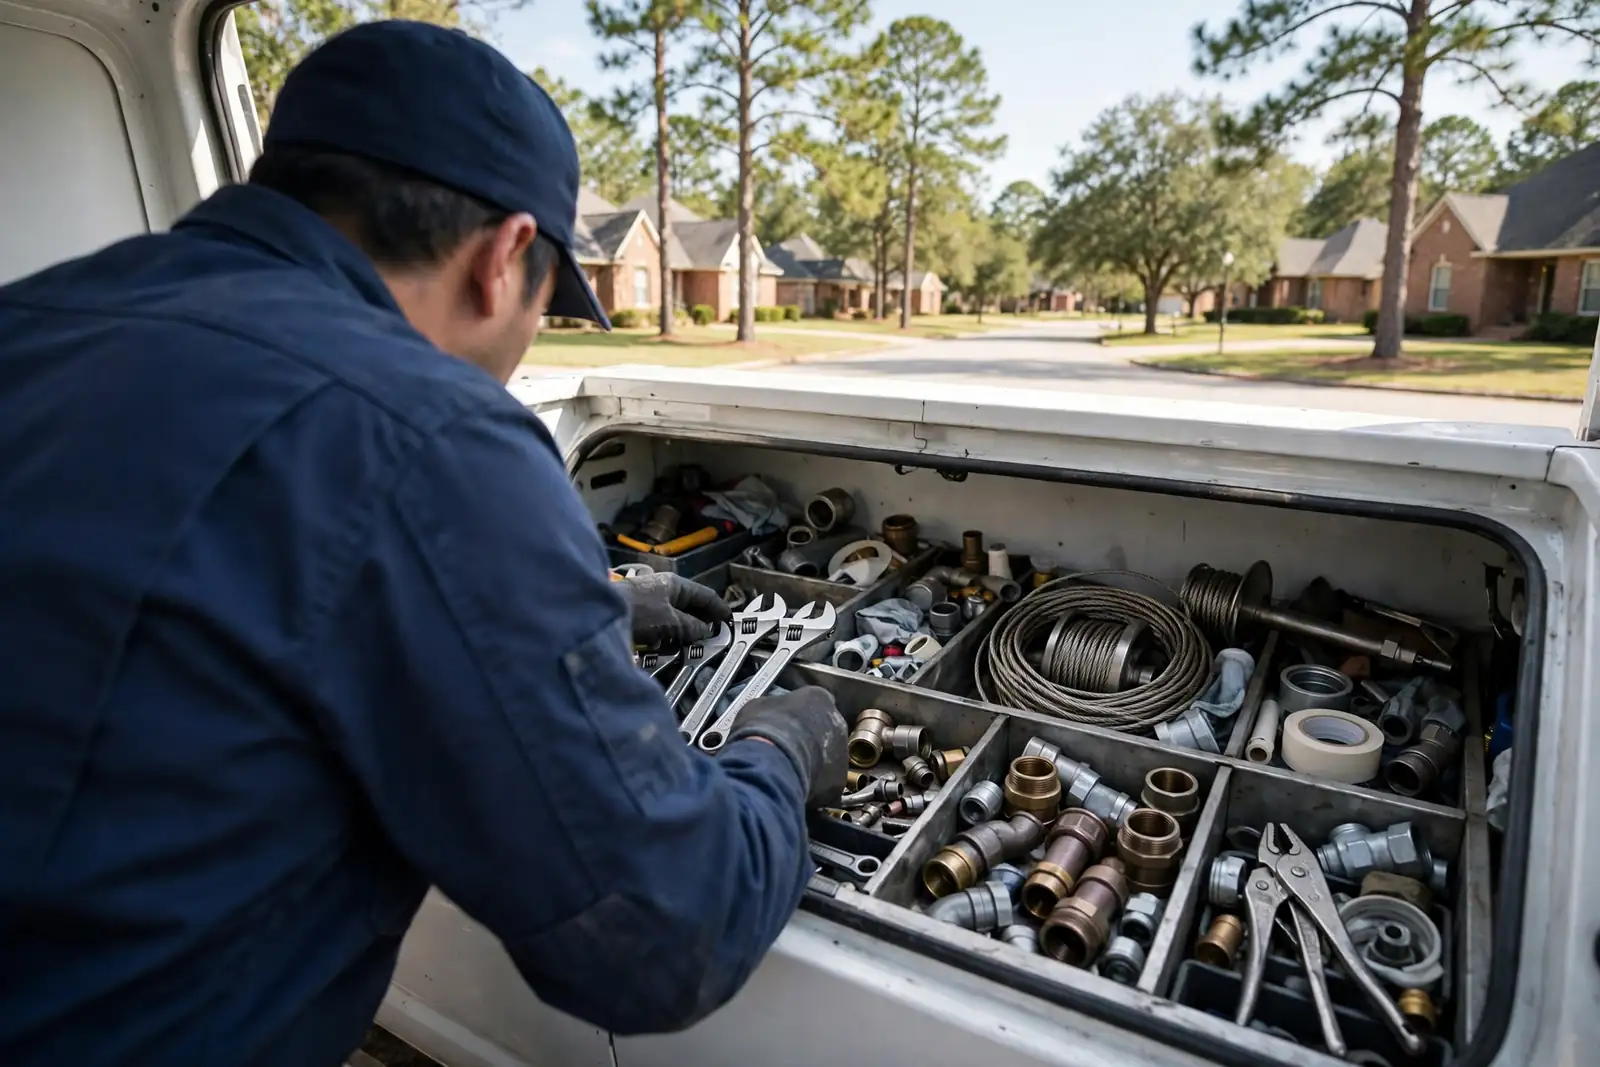
Checks supply pressure at the shutoff valve so we know the new unit and the lines are not stressed.
Cuts PVC or CPVC drain pipe clean when a cracked trap arm needs a new section.
Thermal views are illustrative, generated from photographs of garbage disposal installation work in Mount Pleasant, TX.
Looks down the line when a kitchen sink backs up after a disposer swap and the clog is further downstream.
We set the trap arm and discharge tube at the correct slope and confirm the venting is not blocked. That keeps the new disposer draining free and prevents sewer gas from backing up into the cabinet.
We set the sink flange with plumber's putty or a silicone gasket, tighten the mounting ring evenly, and test with running water. That is the step most leaky installs skip.
We check power at the switch and at the unit before and after install. A loose connection at the switch is a common reason a new disposer seems dead, and we rule it out before we leave.
We snake or jet the branch line when the old unit was slow. A clean drain is the cheapest way to make a new disposer last, and it prevents a repeat call a month later.
The old disposal hums, trips the reset, and will not spin.
The motor was done. We removed the old unit, fitted the new one on a fresh seal, and tested it with a full sink.
Outcome: A disposal that grinds cleanly again.
A remodel needs a new disposal on a fresh sink.
We mounted the unit to the new flange, connected the drain and dishwasher drain, and tested everything with the tap running.
Outcome: A finished kitchen with a disposal that works.
The old disposal leaks from the housing itself.
The housing was cracked through, so repair was not an option. We fitted a new unit and checked the trap while we were under there.
Outcome: A dry cabinet and a disposal that holds.
A new-build kitchen needs its disposal set.
We installed the disposal on the new sink, connected the drain, and tested it with a full sink before the handover.
Outcome: A finished kitchen, tested and dry.
Where the install happens decides what it takes: Downtown kitchens and Southgate ranches are replacements, where the old flange and drain arm set the fit; Northwood, Stone Briar and Deer Park Estates new builds are finish work, where the rough-in is new and the job is straightforward.
On lake and rural lots — the Peninsulas, Hope's Landing, Mariner's Retreat, Cedar Ridge — many homes are on aerobic septic systems, and a disposal is a question to ask, not an assumption. If your current disposal only jams, a repair may be all it needs; our guide on how to unclog a kitchen sink drain safely helps you tell a jam from a failing motor.
Example — a typical call. The stories below are illustrative examples of the kind of disposal installation calls we take, not a record of a specific past job.
Before: A Northwood homeowner had water pooling in the cabinet under the sink. The old disposer was leaking at the sink flange, and the cabinet floor was starting to warp. The old disposer struggled with anything tougher than a potato peel.
After: We pulled the old unit, cleaned the flange surface, and installed a new disposer with a fresh gasket and putty. We cleared a partial clog in the P-trap and replaced a worn shutoff valve. The cabinet has stayed dry, and the new unit handles the family's cooking load.
Run cold water before and after you grind. Avoid grease, coffee grounds, and fibrous peels. Flush the drain with hot water and a little dish soap once a week to keep the trap clean.
Before: A Southgate family called before Thanksgiving with a disposer that hummed and would not spin. The reset button would not hold, and the sink was draining slow. They had a house full of guests coming and no way to use the kitchen sink.
After: We came out, freed the jam, found the motor was burned, and installed a new unit. We snaked the branch line to clear the grease that caused the jam. The sink was working again, and the family did not have to change their plans.
Never put bones, shells, or grease down the drain. Run cold water while grinding and after. If the unit hums, cut power and call before you keep flipping the switch.
Before: A Downtown Mount Pleasant, TX kitchen remodel was stalled because the new sink did not line up with the old disposer flange. The old drain arm was galvanized and starting to corrode, and the shutoff valves were frozen open.
After: We replaced the galvanized drain arm with PVC, set the new sink flange, and installed a disposer matched to the new sink. We replaced both shutoff valves and tested the unit with running water. The cabinet stayed dry.
Check the flange and trap connections once a year for drips. Replace the shutoff valves if they get stiff. Keep the drain clear with a weekly hot water flush.
Most disposer calls start with one of these symptoms. We diagnose the cause before we sell you a new unit.
A sealed, tested install that keeps the cabinet dry and the sink draining.
The sink flange is where most disposer leaks start. We set a fresh gasket and plumber's putty, torque the mounting ring evenly, and run water through the unit before we pack up. That is the difference between a dry cabinet and a warped cabinet floor.
A smaller motor suits light scraping. A busy kitchen with bones and peels needs a larger motor. We size the motor to how your household actually cooks, so you are not replacing a burned-out disposer again.
A new disposer on a clogged drain is money down the hole. We run a drain snake or hydro jetter through the branch line when the old unit was backing up, and we clear hard water buildup before the new motor goes in. That one step keeps the new unit from starting on a clogged drain.
We check the dedicated circuit, the switch, and the Romex or conduit feeding the unit. A loose connection at the switch is a common reason a disposer seems dead. We test power at the unit before and after install, so you know the switch is not the problem.
Clear records from your garbage disposal installation job that you can keep and share.
Model number and work performed
Flange and drain connection
What we cleared and found
What not to put down the drain
Most homes have a continuous feed unit. Batch feed models run only with the cover locked, which is safer but slower for a busy kitchen.
Runs with the switch on and water flowing
Runs only when the cover is locked
Horsepower matched to the kitchen load
Where we fit new disposals — if your street is not listed, call and ask.
Based in Mount Pleasant and covering the places around it. Pick one for local details.
Yes. We install the disposal you supply, and we will tell you before we start if the sink flange or the drain connection needs anything different.
Most installs are finished on the visit. If the flange is corroded or the trap underneath needs work, it adds time — we will tell you what we find before we start.
Ask us first. Many lake and rural homes around Mount Pleasant, TX are on aerobic septic systems, and a disposal adds load the system may not be built for. Verify sewer or septic at the address and we will tell you what suits it.
Only if the disposal was the problem. A slow garbage disposal drain is usually the trap or the drain line. We check the drain before recommending a new disposal.
Other services from the same team.
Call (903) 350-9085 and tell us what disposal you want fitted. We will seal the flange, connect the drain, and test it with a full sink. Open 24 hours, Monday–Sunday.
Call (903) 350-9085 any time — NTP Plumbing is open 24 hours, Monday–Sunday. Tell us what you are seeing and we will talk you through shutting the water off if you need to. We serve Mount Pleasant, TX, including ZIP codes 75455 and 75456. If you are outside Mount Pleasant, call to confirm we can reach your address.